
To change the air filter in your Rheem air conditioning system, follow these steps:
Turn off the power: Locate the electrical disconnect switch near your outdoor unit and turn it off. This ensures your safety while working on the system.
Find the air filter location: The air filter is typically located in the return air duct or the air handler unit. Check the owner's manual or consult the manufacturer's website for specific instructions on locating the air filter in your Rheem system.
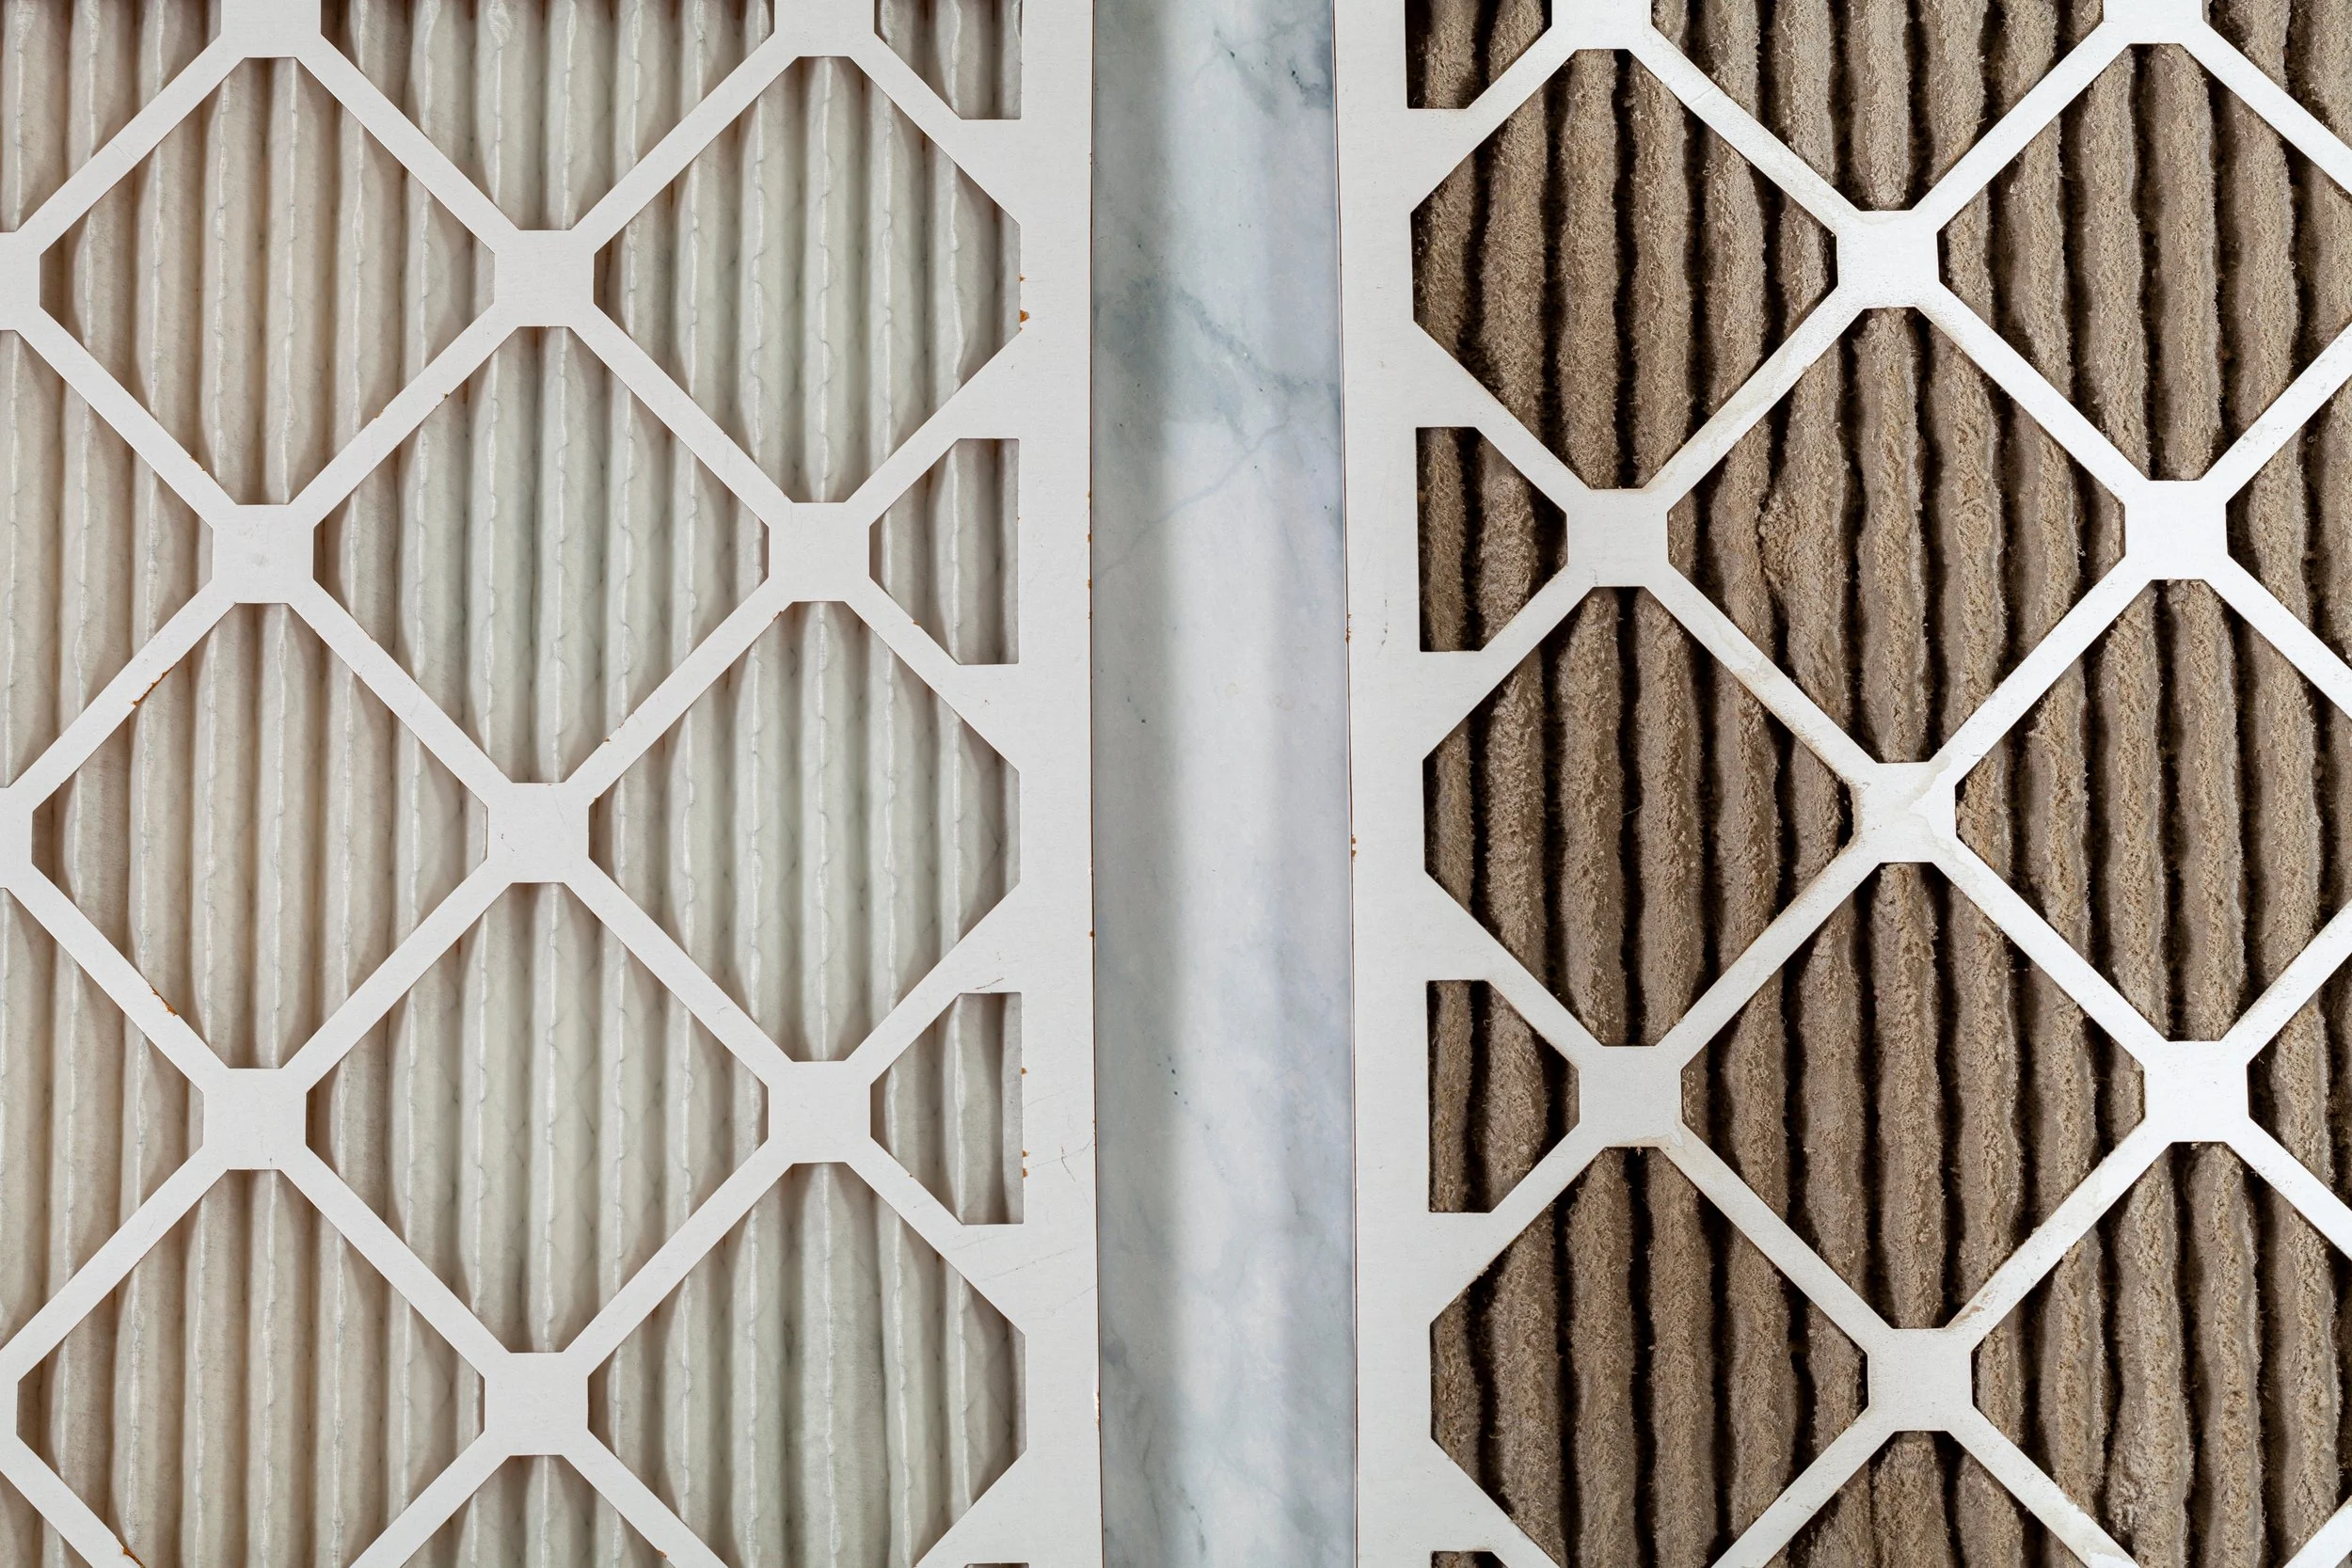
Remove the old filter: Once you have located the filter, remove the access panel or cover. Carefully slide out the old filter from its slot. Take note of the filter's size, as you'll need this information to purchase a replacement.
Clean or replace the filter: If the old filter is reusable and washable, follow the manufacturer's instructions to clean it thoroughly. If it's a disposable filter, discard it and proceed to the next step.
Install the new filter: Take the new filter and slide it into the slot in the same orientation as the previous filter. Make sure it fits snugly and is positioned correctly.
Reassemble and restore power: Put the access panel or cover back in place and ensure it is securely fastened. Then, go to the electrical disconnect switch and turn it on to restore power to your Rheem system.
Regular maintenance: It's recommended to check your air filter regularly, at least once a month, and replace it as needed. Factors such as household pets, construction work, or allergies may require more frequent filter changes.
Remember, if you have any doubts or encounter any issues, it's always best to consult the owner's manual or contact a professional HVAC technician for assistance.