
To change the air filter in your Carrier HVAC system, follow these steps:
Turn off the power: Locate the power switch or circuit breaker for your HVAC system and turn it off. This will ensure your safety during the filter replacement process.
Locate the air filter: The air filter is typically found in the return air duct or in the air handler unit. Consult your HVAC system's user manual or look for a labeled access panel.
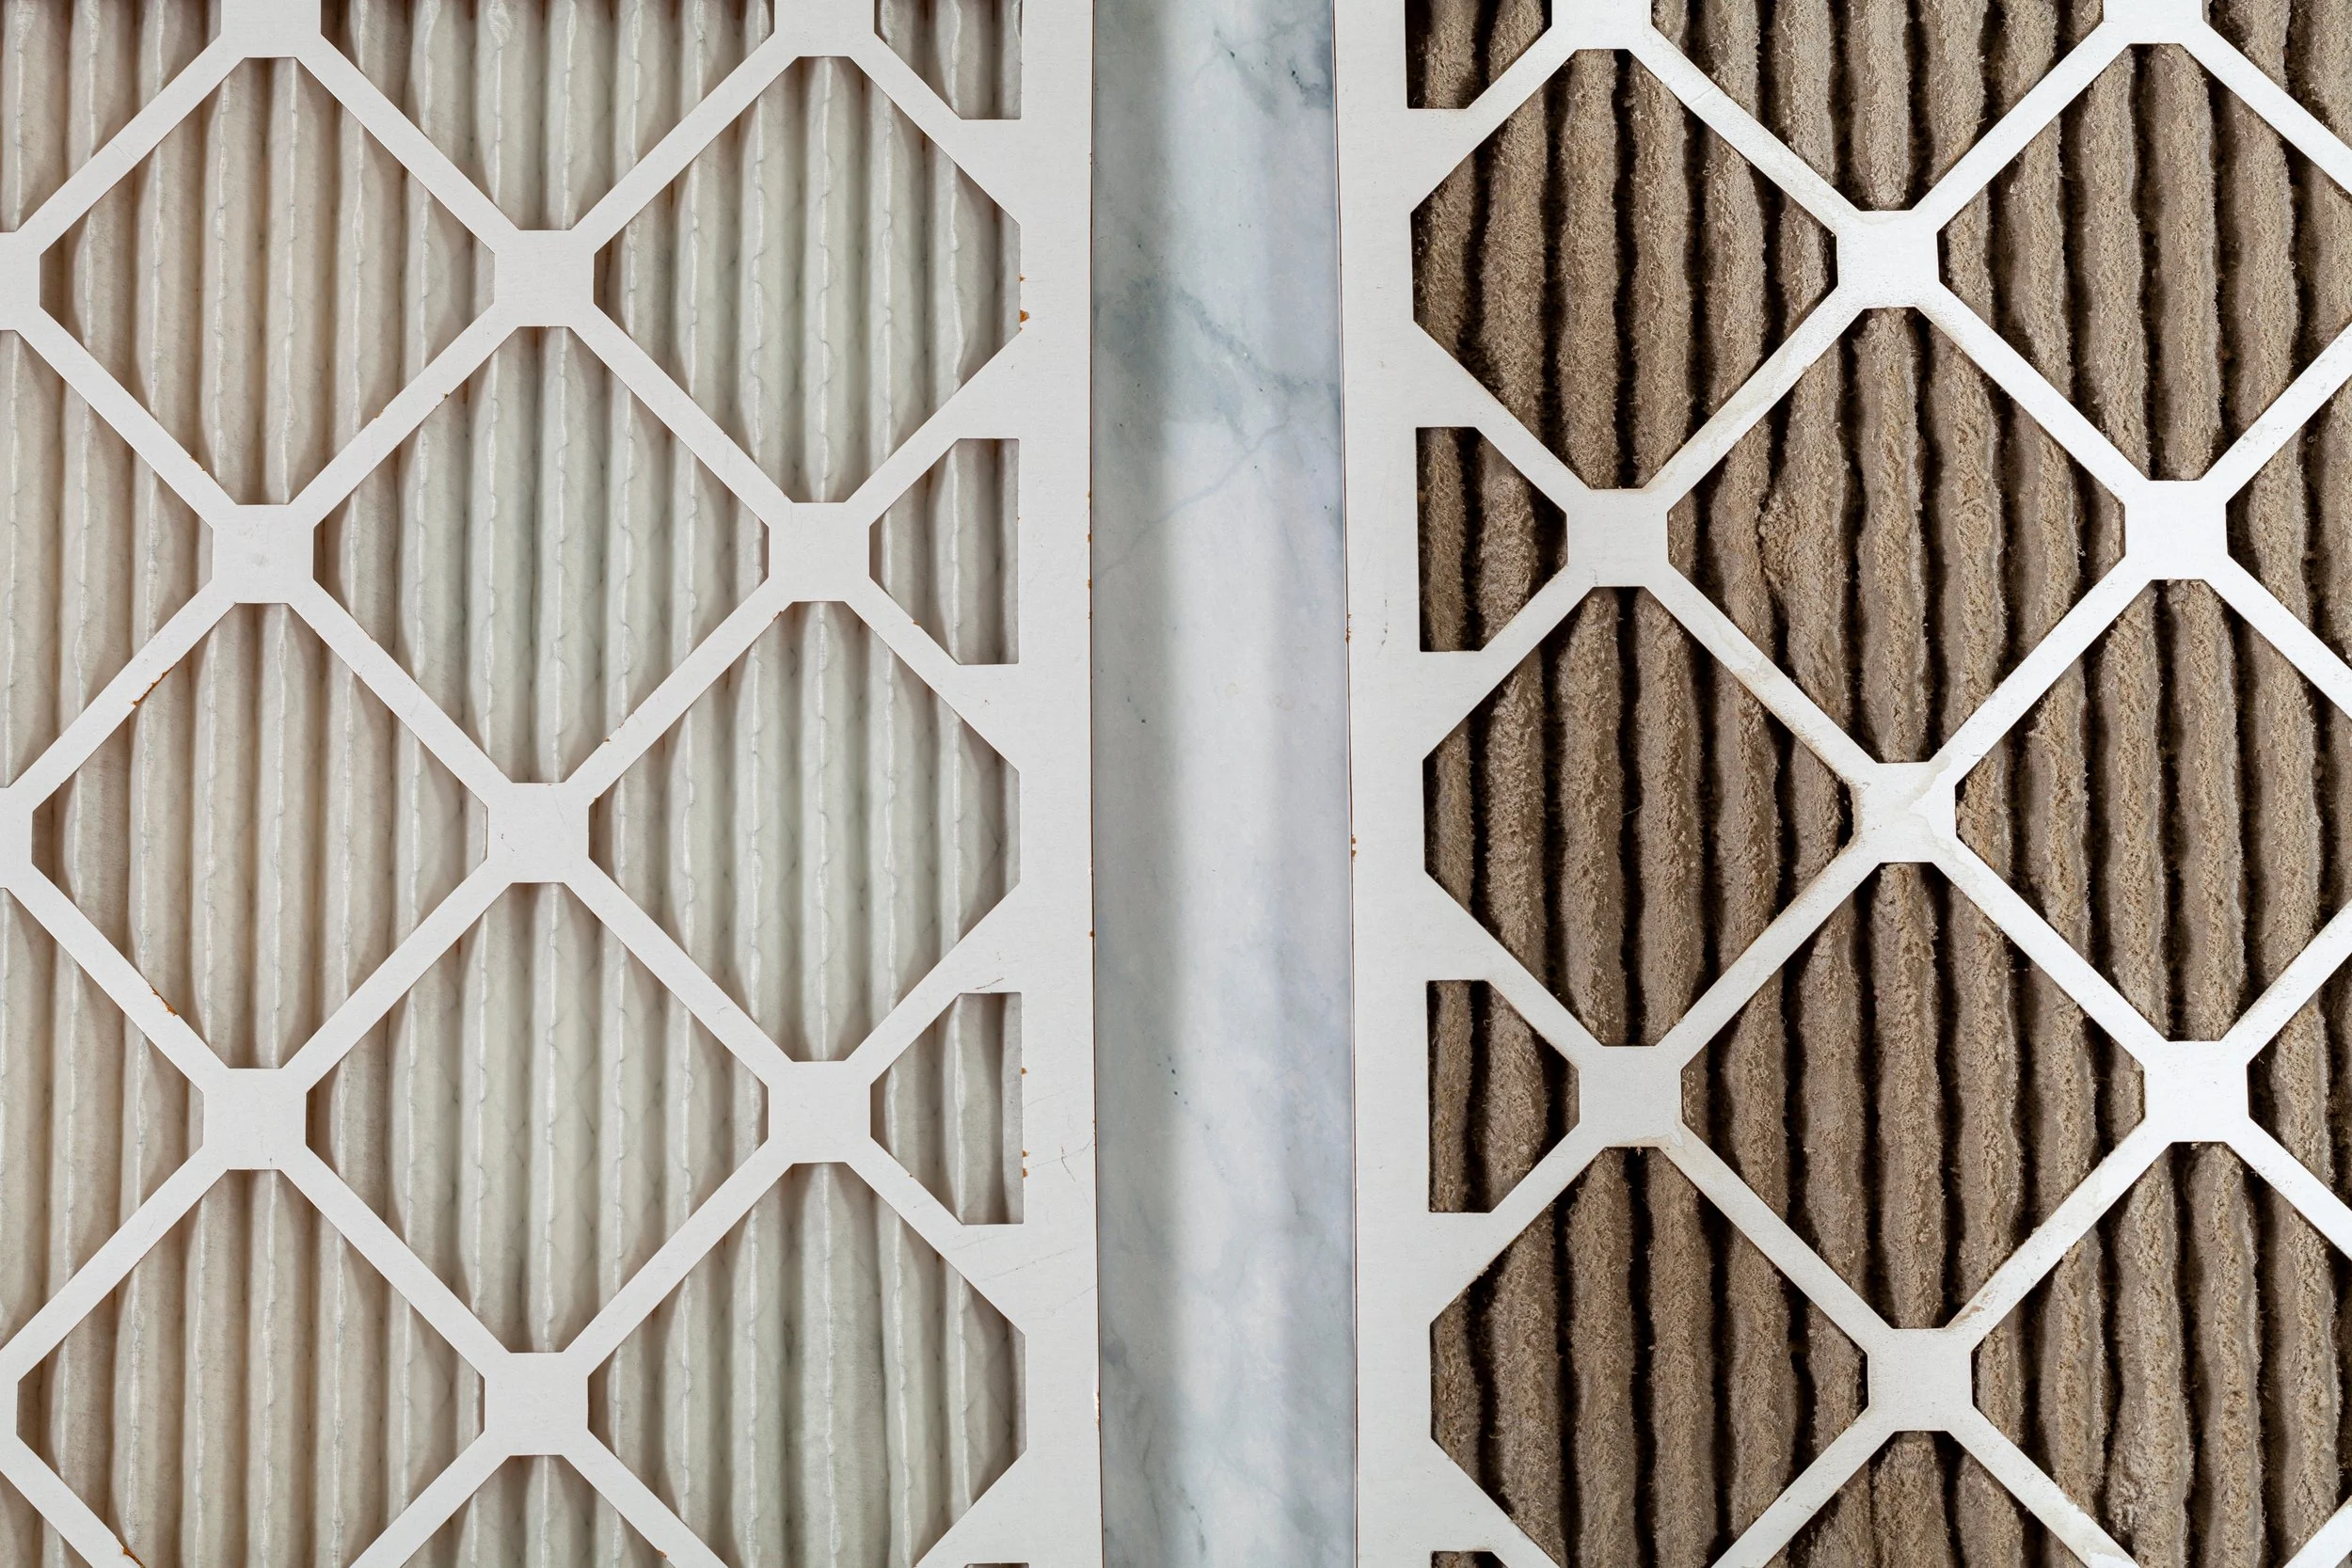
Remove the old filter: Open the access panel and carefully slide out the old air filter. Take note of the direction of airflow indicated on the filter frame, as it will help you install the new filter correctly.
Clean the filter area (optional): While the access panel is open, you can use a vacuum or a soft brush to remove any dust or debris that may have accumulated around the filter area.
Install the new filter: Take the new Carrier air filter and insert it into the filter slot. Make sure it is oriented correctly with the airflow direction matching the arrow or indicator on the filter frame.
Close the access panel: Once the new filter is securely in place, close the access panel tightly.
Restore power: Return to the power switch or circuit breaker and turn on the power to your HVAC system.
. If you're unsure or uncomfortable performing the task, please contact our office for assistance.