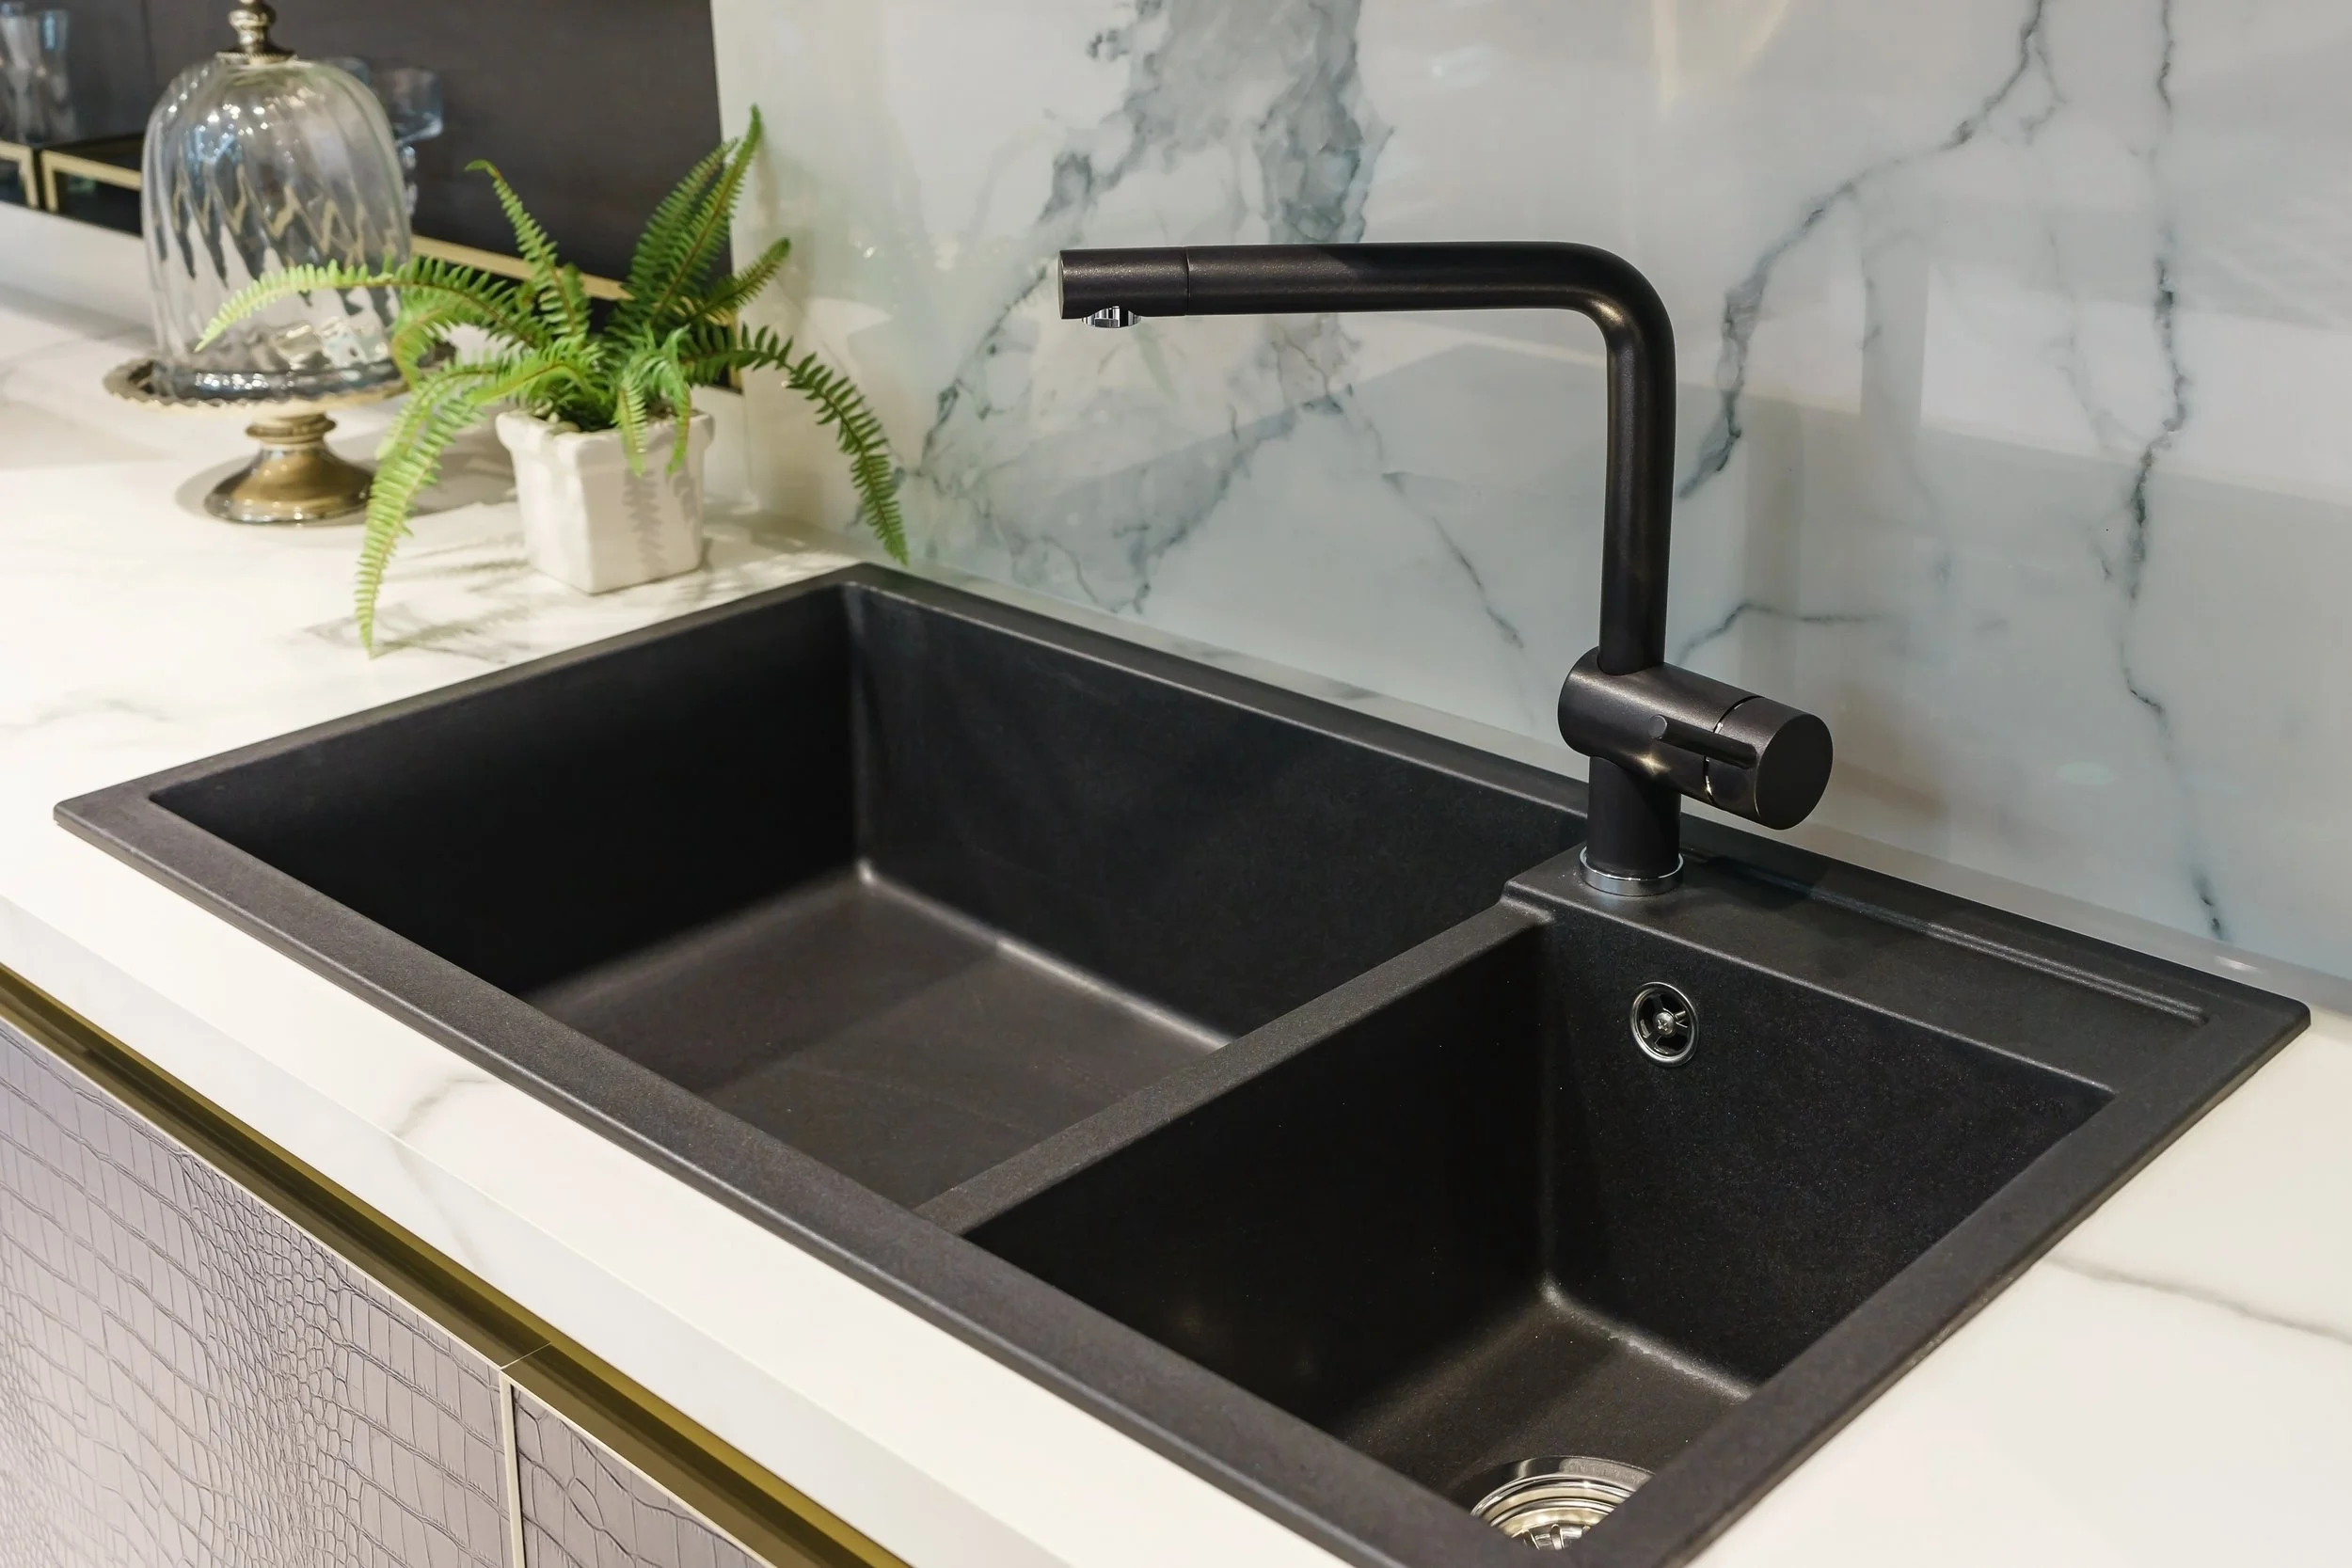
Here are the steps to follow:
Turn off the water supply to the sink by closing the shutoff valves located under the sink.
Locate the aerator at the tip of the faucet. It's a small mesh screen that screws onto the end of the faucet.
Use pliers or an adjustable wrench to carefully unscrew the aerator from the faucet. Be sure to hold onto it tightly to prevent it from falling down the drain.
Once the aerator is removed, inspect it for any visible debris or buildup. Use a soft-bristled toothbrush or a small brush to scrub away any dirt or mineral deposits.
Soak the aerator in a bowl of white vinegar for at least 30 minutes to help dissolve any stubborn buildup.
Rinse the aerator thoroughly with water to remove any remaining debris and vinegar.
Reattach the aerator to the faucet by screwing it back on. Be sure to tighten it securely, but not too tightly, to prevent any leaks.
Turn the water supply back on and test the flow of the water. If it's still slow or weak, repeat the cleaning process or consider replacing the aerator.
Cleaning the aerator in your bathroom sink or standard faucet is an easy and effective way to improve the flow of water and prevent clogs. It's recommended to clean the aerator every 3-4 months to ensure optimal performance.
Dive into the future of property management in Boise, Idaho, and discover how technology is reshaping the industry. Learn how to leverage the latest trends to future-proof your business, improve tenant satisfaction, and stay ahead of the competition.
A year-round approach to pricing, amenities, maintenance, and communication that reduces vacancy and grows resident satisfaction.
Boise’s seasons change—your playbook can stay simple. Prep the property, plan your leasing moves, and communicate clearly with residents. Use this quick guide to keep cash flow steady from winter to fall.
Learn key factors to consider when choosing a property management company, from reputation and communication to legal compliance and technology integration.
Real estate investment in Boise is more than just purchasing a property. It requires understanding what makes a neighborhood desirable and how these features can translate to higher rental income.
Managing multiple properties can be a demanding task for property owners. With numerous responsibilities and duties to juggle, finding efficient ways to save time and streamline processes is essential.
Learn how 208.properties’ Client Review Process helps landlords and investors in Boise make smart decisions for better returns and long-term success.
Gen Z renters are reshaping Boise’s rental market—and they want smart features, sustainable tech, and digital convenience. Here’s how property owners can keep up.
Moving soon? This guide breaks down moving expenses and gives you practical tips for budgeting and saving, whether you’re going local or long-distance.
Renters insurance may not be required but it could save you from serious financial setbacks. Here’s why every tenant should consider it.
Rent day doesn’t have to be stressful. Find out how online rent payment platforms can help landlords streamline collections, improve cash flow, and retain tenants.
Gen Z renters are changing the rental landscape. From digital-first communication to sustainability and authenticity, here’s what property managers need to know.


