
Changing the air filter in a return vent is a simple task, and it's important to do it regularly to ensure proper airflow and indoor air quality. Here are the steps to follow:
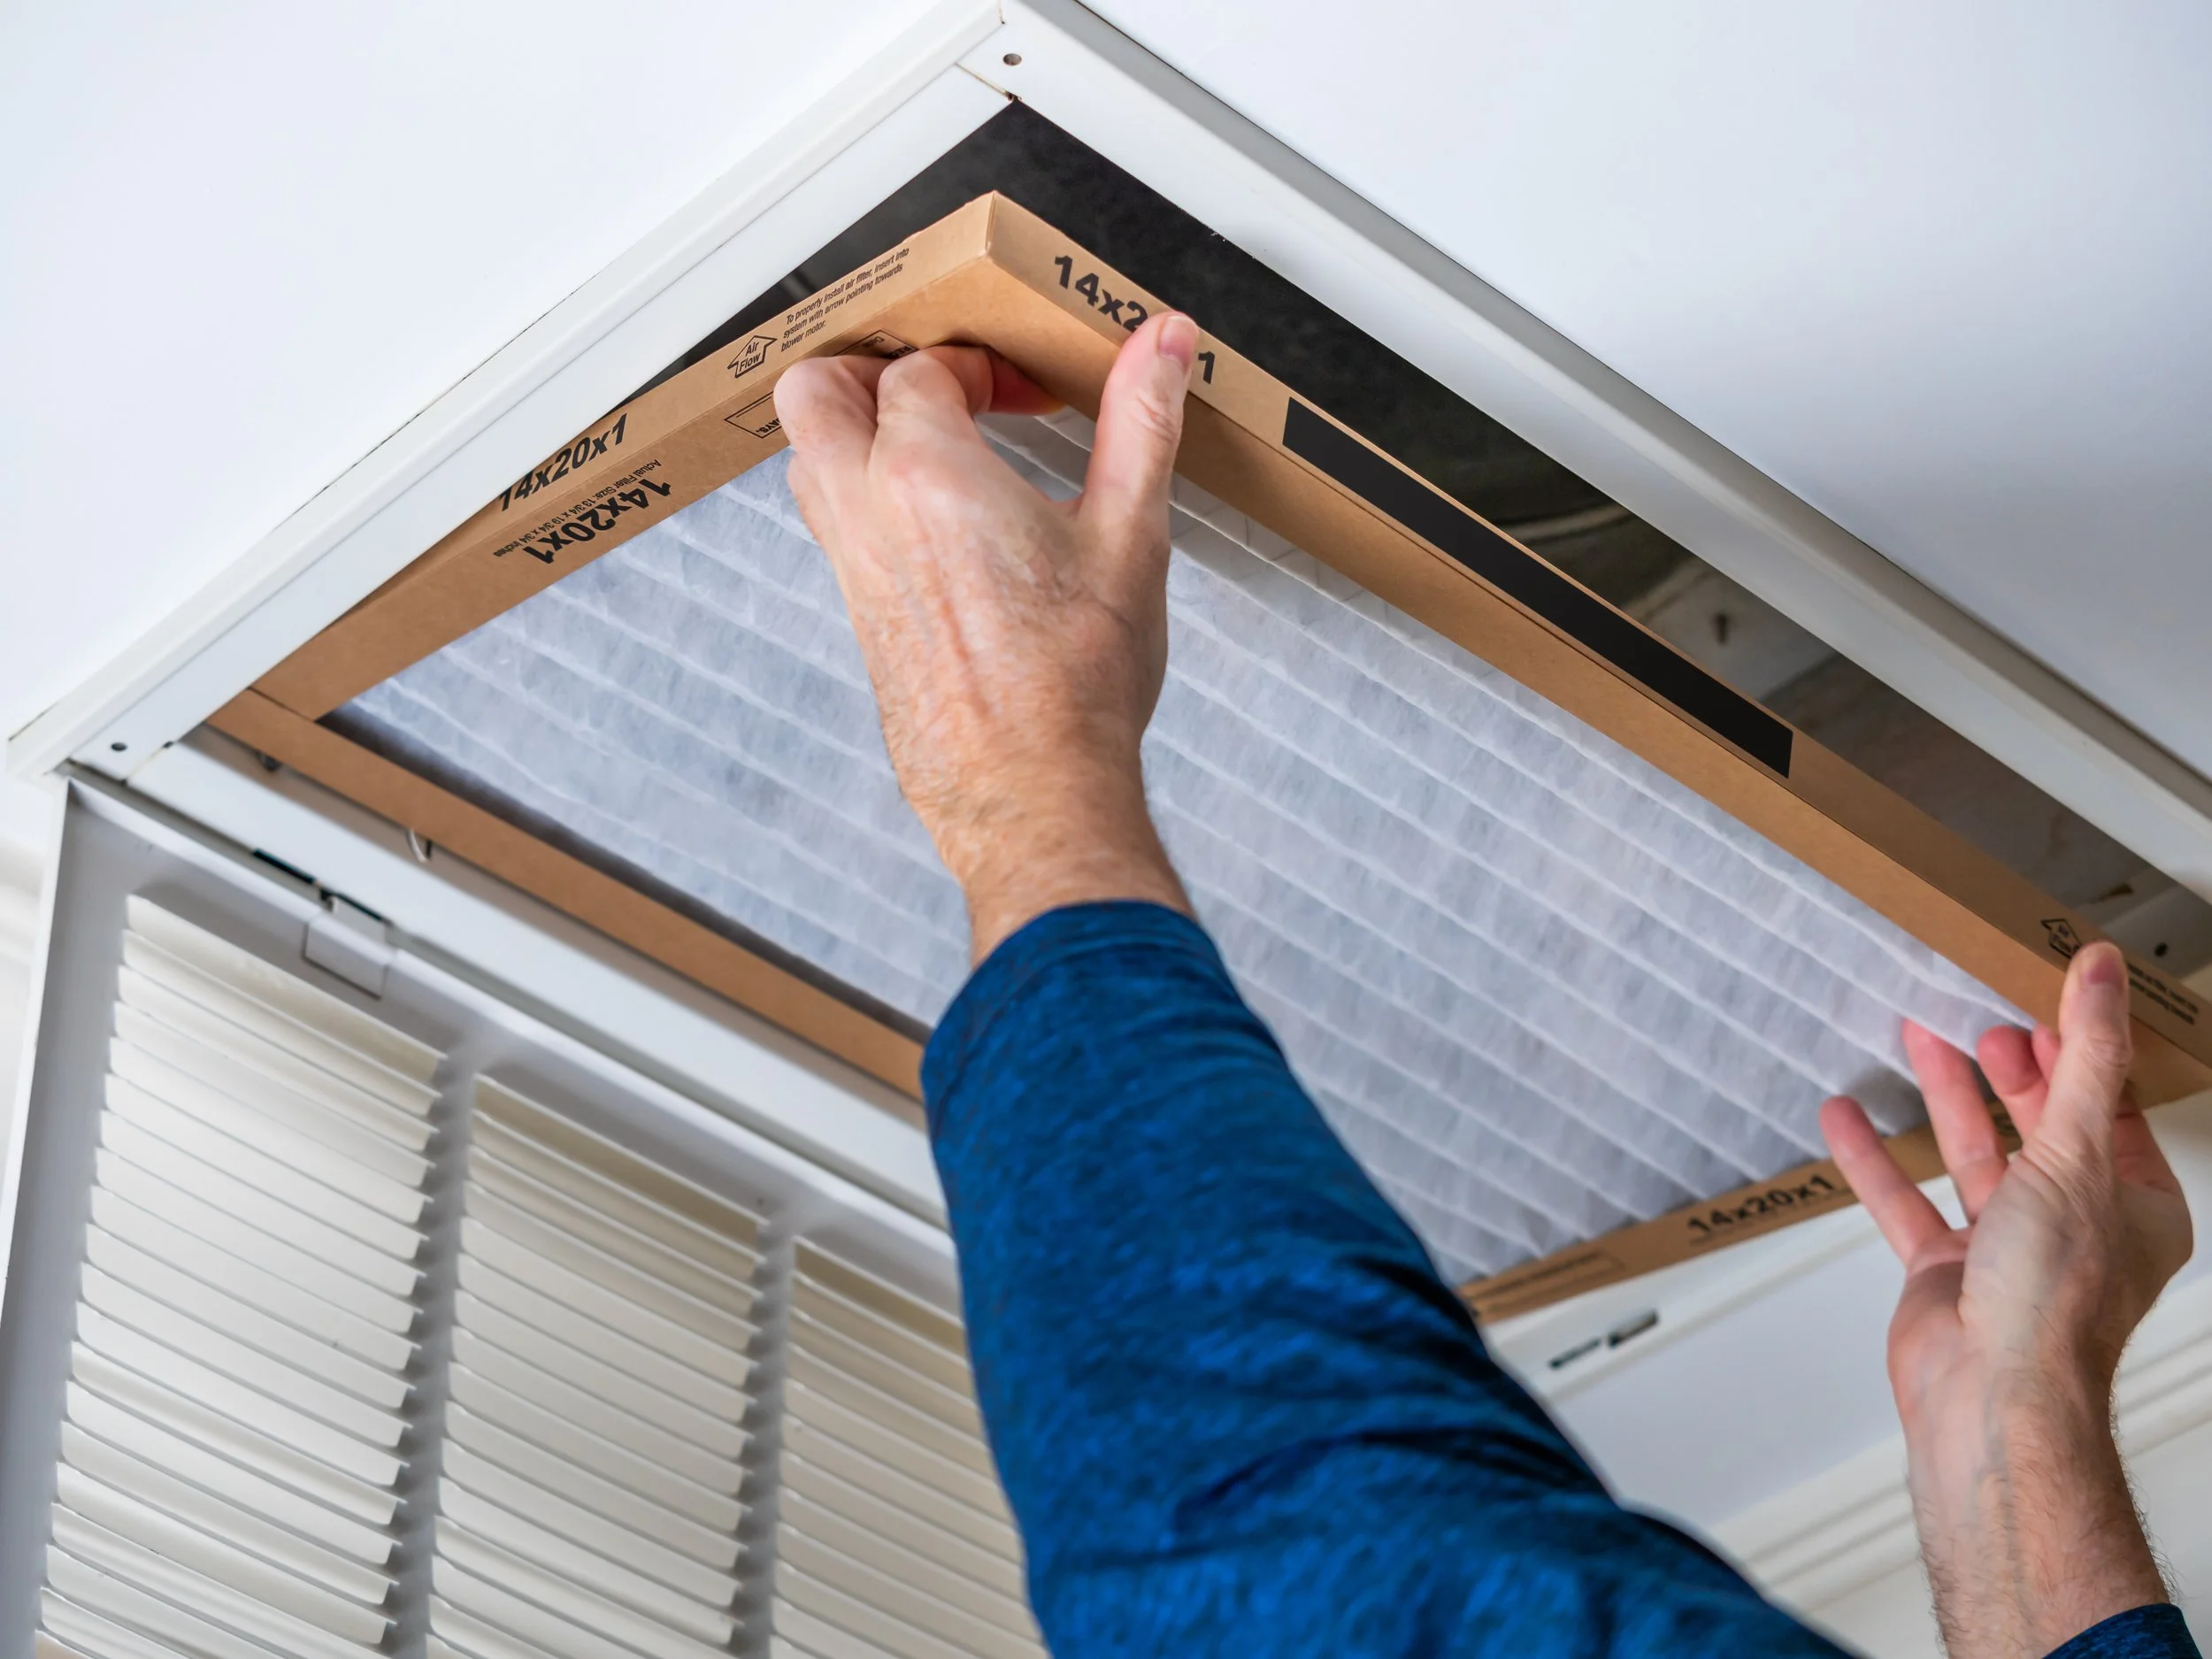
Locate the air filter: The air filter is usually located behind the return vent cover, which is usually located on a wall or ceiling. The vent cover can be removed by unscrewing or unclipping it.
Determine the correct size: Before you remove the old filter, make sure you know the correct size of the new filter to be replaced. This information can usually be found on the old filter or in the owner's manual.
Remove the old filter: Once you have the correct size, carefully remove the old filter from the return vent. Take note of the direction of the airflow arrow on the filter, as you'll want to install the new filter in the same direction.
Insert the new filter: Carefully insert the new filter into the return vent, making sure that the airflow arrow is pointing in the same direction as the old filter. Be sure to press the filter firmly into place.
Replace the vent cover: Once the new filter is installed, replace the vent cover by screwing or clipping it back into place.
That's it! You've successfully changed the air filter in your return vent. Remember to change your air filter every 1-3 months, depending on the type of filter and how often you use your HVAC system.